
DIY Outdoor Halloween Decorations: Big Builds for a British Garden
Building your own Halloween display is the cheapest way to fill a garden, and the easiest way to lose a weekend to something that blows over on the first wet night. Build the pieces that fill space, so tombstones, fences, silhouettes, webs and ghosts from foam, timber and pallets. Seal everything, stake it properly, and […]
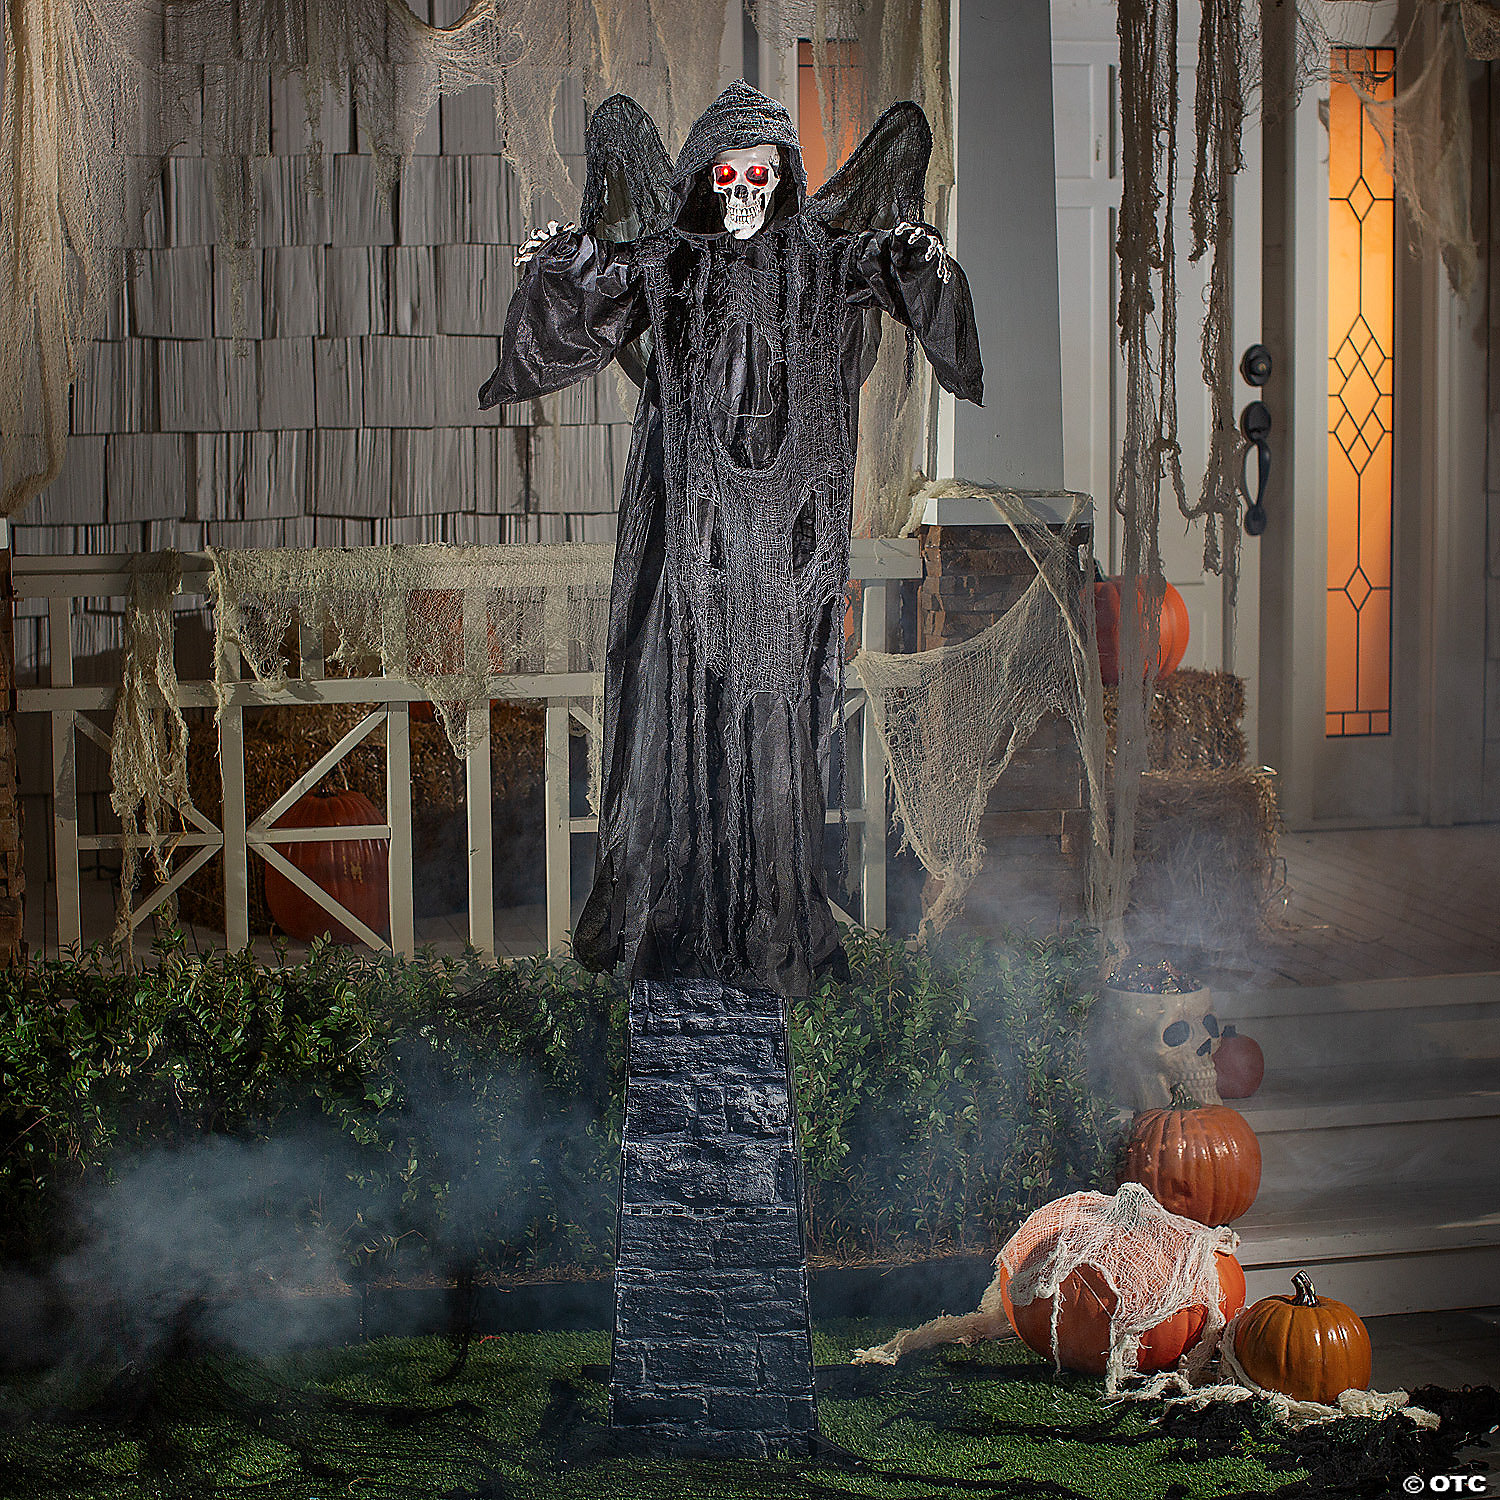
Building your own Halloween display is the cheapest way to fill a garden, and the easiest way to lose a weekend to something that blows over on the first wet night.
Build the pieces that fill space, so tombstones, fences, silhouettes, webs and ghosts from foam, timber and pallets. Seal everything, stake it properly, and put the rest of the budget into one moving centrepiece.
We’re the UK and Europe’s leading horror and Halloween specialist and we supply scare mazes and professional haunts, so each autumn we see what survives outdoors and what comes back in pieces. Below we’ll cover the DIY outdoor Halloween decorations worth the effort, each with materials, cost, time, difficulty and a weather verdict.
DIY Halloween Decorations Outdoor: The UK Materials List
Most builds here use four things: rigid insulation board, timber, chicken wire and outdoor paint, all on the shelf at B&Q, Wickes and Screwfix.
Foam trips people up. Most tutorials online assume pink or blue XPS board, which isn’t a standard shed line here. You’ll find foil-faced PIR (Celotex, Kingspan) or white EPS instead.
- PIR carves cleanly with a hot knife once you peel the foil off. Leave the foil on and it’ll shine through your paint.
- EPS is cheaper and lighter, but it crumbles at the edges and needs watered-down PVA before paint will stick.
A full sheet of 25mm PIR costs under £20 and yields eight to ten tombstones, which sets the budget for the whole graveyard. Beyond that: The Range and Poundland for fabric and battery LEDs, Hobbycraft for acrylics and cheesecloth, Facebook Marketplace for free pallets.
Three rules that apply to every build
- Seal it. Bare foam drinks water and delaminates, and unsealed MDF swells into a sponge. Two coats of exterior masonry paint is the difference between a prop that lasts a season and one that lasts a night.
- Anchor it. Screw a timber stake to the back of anything upright and drive it deep. The plastic spikes supplied with cheap props bend in the first gust.
- Make it come apart. Anything that won’t flat-pack ends up in the bin in November.
Cardboard is a one-night prop whatever you seal it with.
Build 1: A Graveyard That Reads From the Street
The graveyard fills the most ground for the least money. Mark tombstone shapes on your board, cut them with a hot knife, then bevel the edges so they don’t read as flat cut-outs. Carve lettering and cracks with a soldering iron, outdoors, since the fumes are unpleasant.
Paint sells it. Mid-grey masonry paint, a black wash into the carved lines, then a dry brush of pale grey over the raised edges reads as weathered stone from two metres away.
If cutting foam for a weekend doesn’t appeal, our foam tombstone sets, cemetery signs and skull-topped fence panels go straight into the ground and mix with homemade stones perfectly well. They’re in our graveyard decorations range. Add a body half-buried in the plot too, following our guide to making a fake dead body.
You’ll need: PIR or EPS board, hot knife, soldering iron, masonry paint, timber battens
Rough cost: £30 to £40 for eight to ten stones
Time: A day, plus overnight drying
Difficulty: Easy
Weather verdict: Sealed and staked, it’ll see out the season and several more. Unsealed, expect soft edges after two wet nights.
Build 2: Pallet Fences, Coffin Lids and Backdrops
Free pallets are the best material here, with one condition: check the stamp on the corner block before a saw goes near it.
HT means heat treated and it’s safe to cut, sand and burn. MB means methyl bromide, a fumigant banned in the UK since 2010 that still turns up on older imported pallets. Never cut, sand or burn one. Unstamped pallets are usually untreated, but you won’t know what was shipped on them, so keep those outdoors. The full guide to pallet markings covers the rest.
Industrial units, builders’ merchants and garden centres often give pallets away if you ask on a weekday morning. Three builds come out of them:
- A graveyard fence. Prise the slats off, point one end, space them along a rail.
- A coffin lid. Six slats on two battens, tapered, leant against a wall.
- A silhouette panel. Jigsaw a shape out of a pallet face, paint it matt black, light it from behind.
You’ll need: HT-stamped pallets, pry bar, jigsaw, screws, matt black exterior paint
Rough cost: Free, aside from screws and paint
Time: An evening per piece
Difficulty: Moderate, and a jigsaw helps
Weather verdict: Pallet timber is already weathered and handles rain fine. Store it dry or it’ll grow mould.
Build 3: A Giant Spider and Its Web
Scale is the point. A spider the size of a dinner plate is a decoration; one the size of a wheelie bin is a talking point. Stuff a black bin bag with carrier bags for the body, then slide foam pipe insulation over garden wire for legs that bend and hold a pose. Paint matt black, and add ping-pong ball eyes that catch a torch beam.
Washing line tied off at the corners of a bay window gives the web structure. Stretch cobweb over the top covers a lot for very little, and the trick is pulling it thin: a thick clump reads as cotton wool, a thin wide stretch catches light like silk. Our spiders and creatures range has the ready-made giants.
You’ll need: Bin bags, foam pipe insulation, garden wire, matt black paint, washing line, stretch web
Rough cost: Under £20
Time: Two to three hours
Difficulty: Easy
Weather verdict: The spider is fine, but stretch web sags badly in heavy rain, so re-pull it after a downpour.
Build 4: Ghosts, Silhouettes and Backlit Shapes
After dark, shape matters more than detail. Nobody sees your paintwork at eight o’clock on 31 October; they see an outline.
For a ghost, mould chicken wire over an upturned bin into a head and shoulders, soak cheesecloth in half PVA and half water, and drape it over the form overnight. Pull the form out and you have a rigid shell that holds its shape in wind, and a battery light inside makes it glow with no cable across the lawn.
Silhouettes are quicker. Jigsaw a figure out of thin exterior ply, paint it matt black, and stake it in front of a light: reaching hands, a witch against a fence, a hunched figure by the wall. For windows, corrugated plastic taped inside the glass reads brilliantly with a lamp behind.
You’ll need: Chicken wire, cheesecloth, PVA, battery lights, exterior ply, matt black paint
Rough cost: Under £25 for two or three figures
Time: An hour, plus overnight drying
Difficulty: Easy for silhouettes, moderate for ghosts
Weather verdict: Stiffened cheesecloth softens in sustained rain, so bring ghosts in if a wet week is forecast. Painted ply is fine.
Build 5: Fog and Ground Lighting
Fog turns a set of props into a scene, and the reason most garden fog looks wrong is temperature. Warm fog rises and vanishes; chilled fog hugs the ground.
A fog chiller is a cheap coolbox with a hole cut in each end, packed with ice, with flexible ducting through it. Feed a fog machine’s output in one end and it comes out cold and low.
Lighting follows one rule: light from the ground up, never from the front. A front-on floodlight flattens everything and shows every join, while uplighters behind a tombstone throw shadows upward. Green and deep red read best on grass; white kills the atmosphere. Our light-up decorations cover the outdoor-rated options.
You’ll need: Coolbox, flexible ducting, ice, fog machine, outdoor-rated uplighters
Rough cost: Under £20 for the chiller
Time: Twenty minutes
Difficulty: Easy
Weather verdict: Fog behaves badly in wind, so treat it as a still-night effect.
Working With a Small Front Garden
Most homes here have three metres of front garden, a shared path and a low wall, so sprawling ground-level scenes need depth you haven’t got. Go vertical instead. The bay window, door frame and wall above head height do more work than the lawn, and a backlit silhouette with one strong piece by the door lands harder than six small props on grass. Fewer, bigger, taller.
Keep the path clear too, because trick-or-treaters arrive in the dark in groups.
What’s Worth Building, and What’s Worth Buying
DIY wins on volume. Ten foam tombstones cost roughly what one bought six-piece set costs, and they fill a whole plot. Fences, silhouettes, webs and ghosts fall the same way. If the job is covering space, build it.
Buying wins on the centrepiece. Nothing built in a garage lunges, tracks movement, speaks, or holds up to a torch at close range. The prop people photograph and describe to their friends is almost always motorised.
That tier is where we spend our own time. Our Animatronik are built for scare mazes and professional haunts: full-size figures, tested mechanisms, faces sculpted to unsettle adults rather than amuse children. They start around the £200 mark and run past £500, and ex-display or slight-second units come in well below that while looking identical in a dark garden.
Two caveats. Most animatronics are rated for covered porches rather than open rain, so plan a sheltered spot, and a hero prop with nothing around it looks stranded. That’s the argument for building the graveyard first. The pieces that bridge the two, so stretch web, tombstones, fence panels and groundbreakers, are in our outdoor Halloween decorations Bereich.
Where to Start This Year
Build the graveyard first. It’s the cheapest square metre of scene you’ll ever make, it teaches the sealing and staking everything else depends on, and it gives a bought centrepiece something to stand in. Add pallet builds and silhouettes next year and the display grows without a big spend in any one autumn.
A companion guide to styling a finished outdoor look, and our wider guide to Halloween decoration ideas, are both coming to the blog shortly. Thanks for reading, and enjoy the build.